Friday, June 30, 2017

More bits and pieces

We took a bit of a break from working on the Yellowbird to visit San Antonio for the AFBMT graduation of one of our sons. We loved San Antonio with its heat but low humidity! But no where to use our trawler!


June 21

First official day of summer vacation (for me) and we worked on the Yellow Bird!  We removed the top of the fiberglass pocket at sliding door threshold. Shawn cut the bulkhead that held rotting 2*4 that was supporting the sliding door frame. We cleaned out the all the rotten wood.


June 24

We spent all day working on the door frame floor support. Shawn removed the bad section of floor support on the aft and port side of saloon door.


He then replaced the aft saloon floor support. He then sandwiched salt treated lumber and stainless steel bolts, the door frame support (by sandwiching salt treated 2*4 and stainless steel bolts into the existing pocket).

June 28
I am out of town visiting my kiddos in South Carolina. Shawn continues to plug away on the small things that need to be done (and which do not require my help!). He sanded and oiled the teak trim on the cockpit. It looks great! So…I think we are going to paint the cockpit? Before we put her over? Maybe after we put her over. I think that will be a GREAT fall project so we can have a few weeks of enjoyment.


Sunday, June 11, 2017

Bits and Pieces

Now that we have completed the BIGGEST job of clearing out the core, we are at the point where we are starting to put things back together....bit by bit, piece by piece.

6/6/17

Tuesday after work

Sanded the swim platform. We had two electric sanders so both of us got to sand. I am a novice sander so I was very nervous about messing it up. Shawn told me to not worry about it because if I messed it up we would just make a swim step instead of a platform. He is so much fun to work with!


6/7/17

Wednesday after work
Cool and cloudy so we sanded the platform more. First we used the 50 grit sandpaper (on the top) and then we used the 80 grit sandpaper on the top and bottom. Flipped it back over and oiled the top, then the bottom and then a second coat on the top. Shawn then put the swim platform ladder back together as we had already sanded and oiled those stairs last week.


June 8

Thursday after work

We continued to work on the swim platform. Shawn scrubbed it with ajax and we oiled it (again) with Tip Top Teak oil. Two coats. Three coats...maybe four? It looks really good. Some places look better than others. We have not been able to get the deep etched grooves completely clean so they still show gray rather than the beautiful golden color we like.  We did sand between the slats a bit and all around the edges of the platform and oiled them as well.


June 9

Friday after work

We prepared everything for the weekend of working on the boat.  We gave the platform the final coat of oil and reinstalled the chrome edging. Shawn cut out backing plates for the swim platform braces. He used 1/2” plywood and we pre-drilled the holes for remounting, thinking it would be a time and labor saver when we got to the boat.


June 10

Saturday

Beautiful sunny day with a nice breeze. The kind you want to spend on your boat (on the water!!)…so we headed to the boatyard for our day of labor. We began by installing the backing plates. What a chore that was! Shawn had to maneuver himself underneath of the cockpit while I was outside on the ground. We caulked around the holes and the perimeter of the braces and then I screwed them braces into the backing plate that Shawn was aligning on his side. A very hot and uncomfortable two hours ensued. The braces were a bit warped so our predrilled holes did not entirely match up. We used 4000 adhesive/sealant/caulk and it was quick dry so that meant….yep…when we were done all the excess was hard dried so we had to use a razor blade to cut it and then peel it off the transom. But the backing plates will add additional strength and halt (hopefully) the fine cracks in the transom from the swim platform weight. HOT, sweaty work and not fun at all (we might have used a few choice descriptive words while working)!


We then finished removing the stripe/adhesive from the hull because we decided to paint tomorrow. We need to “see” some visual progress to keep ourselves motivated! And we cleaned/sanded the door frame in preparation for painting. I decided to use gloss white for the door frame to brighten the cockpit and get that airy look I want. I am still pondering whether to paint the salon side white or keep it dark.


Shawn also removed the propeller....something about a shake or unevenness or I don't know what exactly, but it came off and a different one will go on!


We came home and walked down to our dock to imagine what it will be like in a couple of months when the Yellow Bird is again at her home port.


June 11
Sunday

We loaded more tools into the truck and headed off early this morning. We scraped, sanded and taped…then painted the bottom with a “carolina coat” of a pretty blue (my choice). This was my first experience with painting a boat, so Shawn gave me CAREFUL instructions to AVOID the tape so as not to paint the hull…he turned his back and OOPS! “Uh-oh”, I said. “Are you kidding me”, he asked. “Um…no…what do I do?” (In my defense, we were listening to an awesome radio station (97.7 The Rocket http://977therocket.com) and who can resist dancing and singing while painting? Soooo….we determined my skill lay in painting the lower part of the bottom while Shawn paints near the tape!


I painted the door frame white while Shawn removed the door threshold trim. We installed the swim platform (easy and fast!) and the swim platform ladder.


Then back to the door threshold to remove a previously botched patch job. The second calamity of the day occurred. We had to remove the braces in the cockpit to get to the door threshold. I held the top 2*4 at one end while Shawn knocked the support beam away at the far…and the top 2*4 end near Shawn hit him in the head…a HUGE OOPS! Luckily no blood or mortal injury…just seeing stars for a bit.


So we (mostly Shawn) cut out the rotten wood and removed the bits and pieces of wood that had been cobbled together previously. I vacuumed and swept all of the ensuing debris. We cleaned up (unhooked water hose from the boatyard water supply and wound it up; ditto for the power cords) and headed home.

A good week with much progress...and seeing the paint and the swim platform gives us a great "sneak peek" at how great she will look when she is done.


And our cat is going to miss having the swim platform as his personal perch!


Sunday, June 4, 2017

Core is Cleared!

 June 2, 2017

Friday after work. We must be insane because we met at the house, grabbed a cooler of water and headed to the Yellow Bird to get in a couple of hours of labor. Truly I had intended to go one day after school (did I mention I am a teacher?) but the end of school year craziness has begun so I did not get a chance. Honestly, I was looking forward to it all day.

And yet, after two hours…it appears as if I barely touched the rotten core.  Shawn worked on the stripe on “my” side of the boat and he has it almost completely removed.  Slow going now. But we are steady plugging away.


Saturday

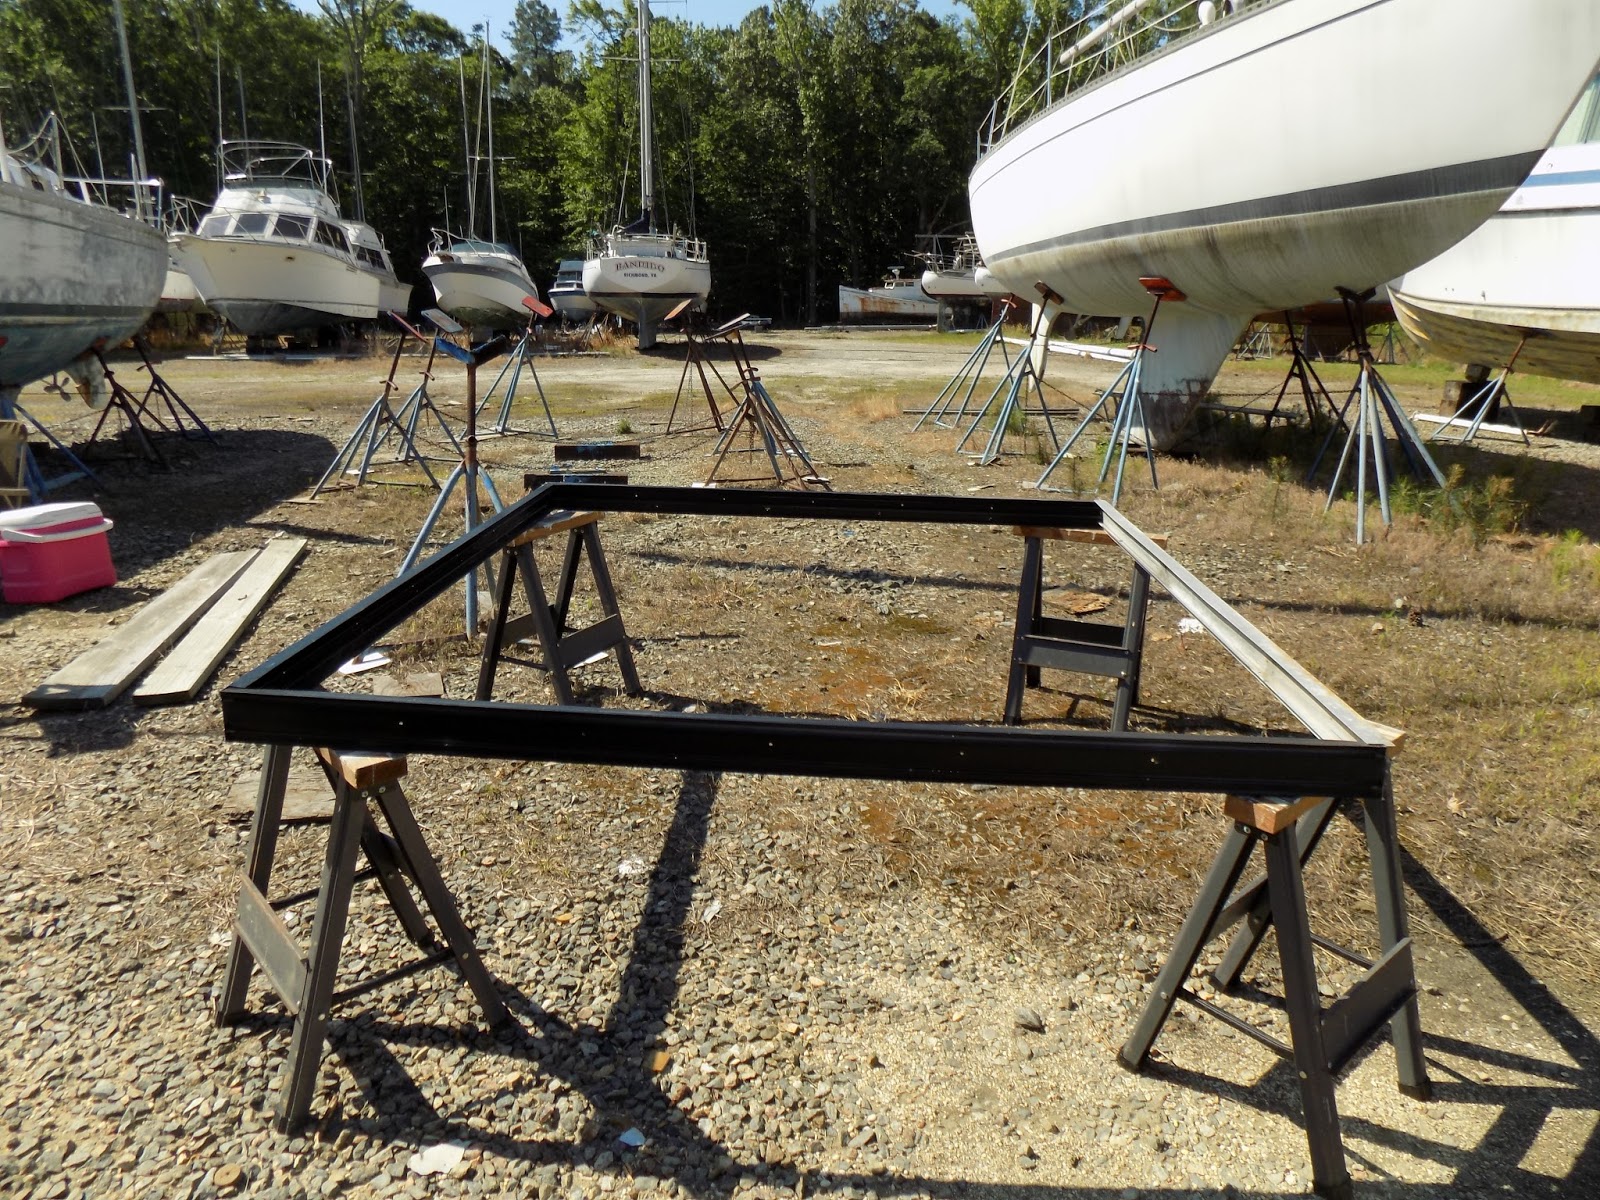
Slow, slow, slow going on the rotten core. Or maybe I am impatient! Before starting, we reconfigured the supports because we wanted to make sure that everything was as stable as possible. We added two more lines of support (one of each side) to the middle supports.


We worked steadily on the removal and are almost finished. We had some conversations about the plywood which is around the perimeter because some of it is actually still in quite good shape. We decided that if it is dry and secure we are going to leave it. Not so for the few areas on the deck where the balsa wood is actually dry and in good shape. It had to come out for the recoring. 


There were several “stubborn” areas which Shawn actually had to remove because I flat-out could not.  Shawn cut the edge of the plywood around the perimeter so that I could pry the wet part off and keep the dry part which is under the perimeter decking that we left on. I like to work barefoot (despite Shawn’s concerns…I just hate shoes) and there were several screws protruding into the flybridge. Shawn wanted to remove them, so he went below to do so. He discovered there is actually another layer between the flybridge deck and the salon ceiling. Apparently the wiring for the overhead lights in the salon runs through this layer… Odd. We are hoping we never have to replace that wiring because we are not sure HOW we would get to it.  At the end of the day, we have JUST the plywood sections to remove tomorrow. And the stripe to finish...

After arriving home, we spent a relaxing couple of hours trying different recipes for the “Yellow Bird” cocktail for which the boat is named.

Sunday

Shawn had to work (at his real job!) this morning so I went to the Yellow Bird to get started. I began the remaining deck removal and it went very quickly. The plywood is scored and there seems to be a bit of a pattern of one wide, then two or three narrow. I used my chisel to begin, then I used the crowbar to remove whole sections of the scored plywood. Easy, peasy but it does take some upper body strength! My arms, shoulders and back ached after a couple of hours. The corner sections still gave me a fit so when Shawn got there mid-day, he again used the cutter the cut the plywood between the perimeter and the deck. (I had been able to use my chisel to “cut” in other areas, but not those dang rounded corners!).


Then I had to remove the rotted wood from under the perimeter fiberglass that we left. I found the awl  worked best but to be honest I used any and everything to reach under and pry, pull, push, and otherwise manipulate the wood that was under it except for the spots where the wood's integrity was not compromised. This I simply left, so we do have some sections where we will not have to replace the wood.


Hmmm…while I was finishing on the flybridge, Shawn began examining the doors from the cockpit to the salon. They had been wildly uneven and he had put a jack under the floor to brace it, but now he decided (?????) to remove the doors. An unexpected turn of events. He actually intended to only remove the teak trim to take home for us to sand and oil, but….I am actually (okay…maybe just a little bit) happy he decided to remove them because the wood under the door frame was rotten so we (Shawn) will be replacing that before we put the doors back in. AND we will paint the doors frames 
as well since they are off!


When we got home, I received my reward for lots of work done of a boat ride in our Carolina Skiff just to feel the sun on my face and the salty sea air and water sprays as we puttered around for an hour just enjoying the beautiful day. It has been a weekend of sunny cloudless skies, no humidity and 80 degree temperatures! And I was on a boat! (in a boatyard for most of it!). I felt rejuvenated when we got back to our dock.

So Shawn sanded the teak trim and swim platform and I applied the teak oil. Our version of an assembly line.


So at the end of the day…the flybridge deck core is removed…the doors are removed…the teak is removed…can we start putting her back together yet???